3 Problem Solvers for UV Printing on Metal
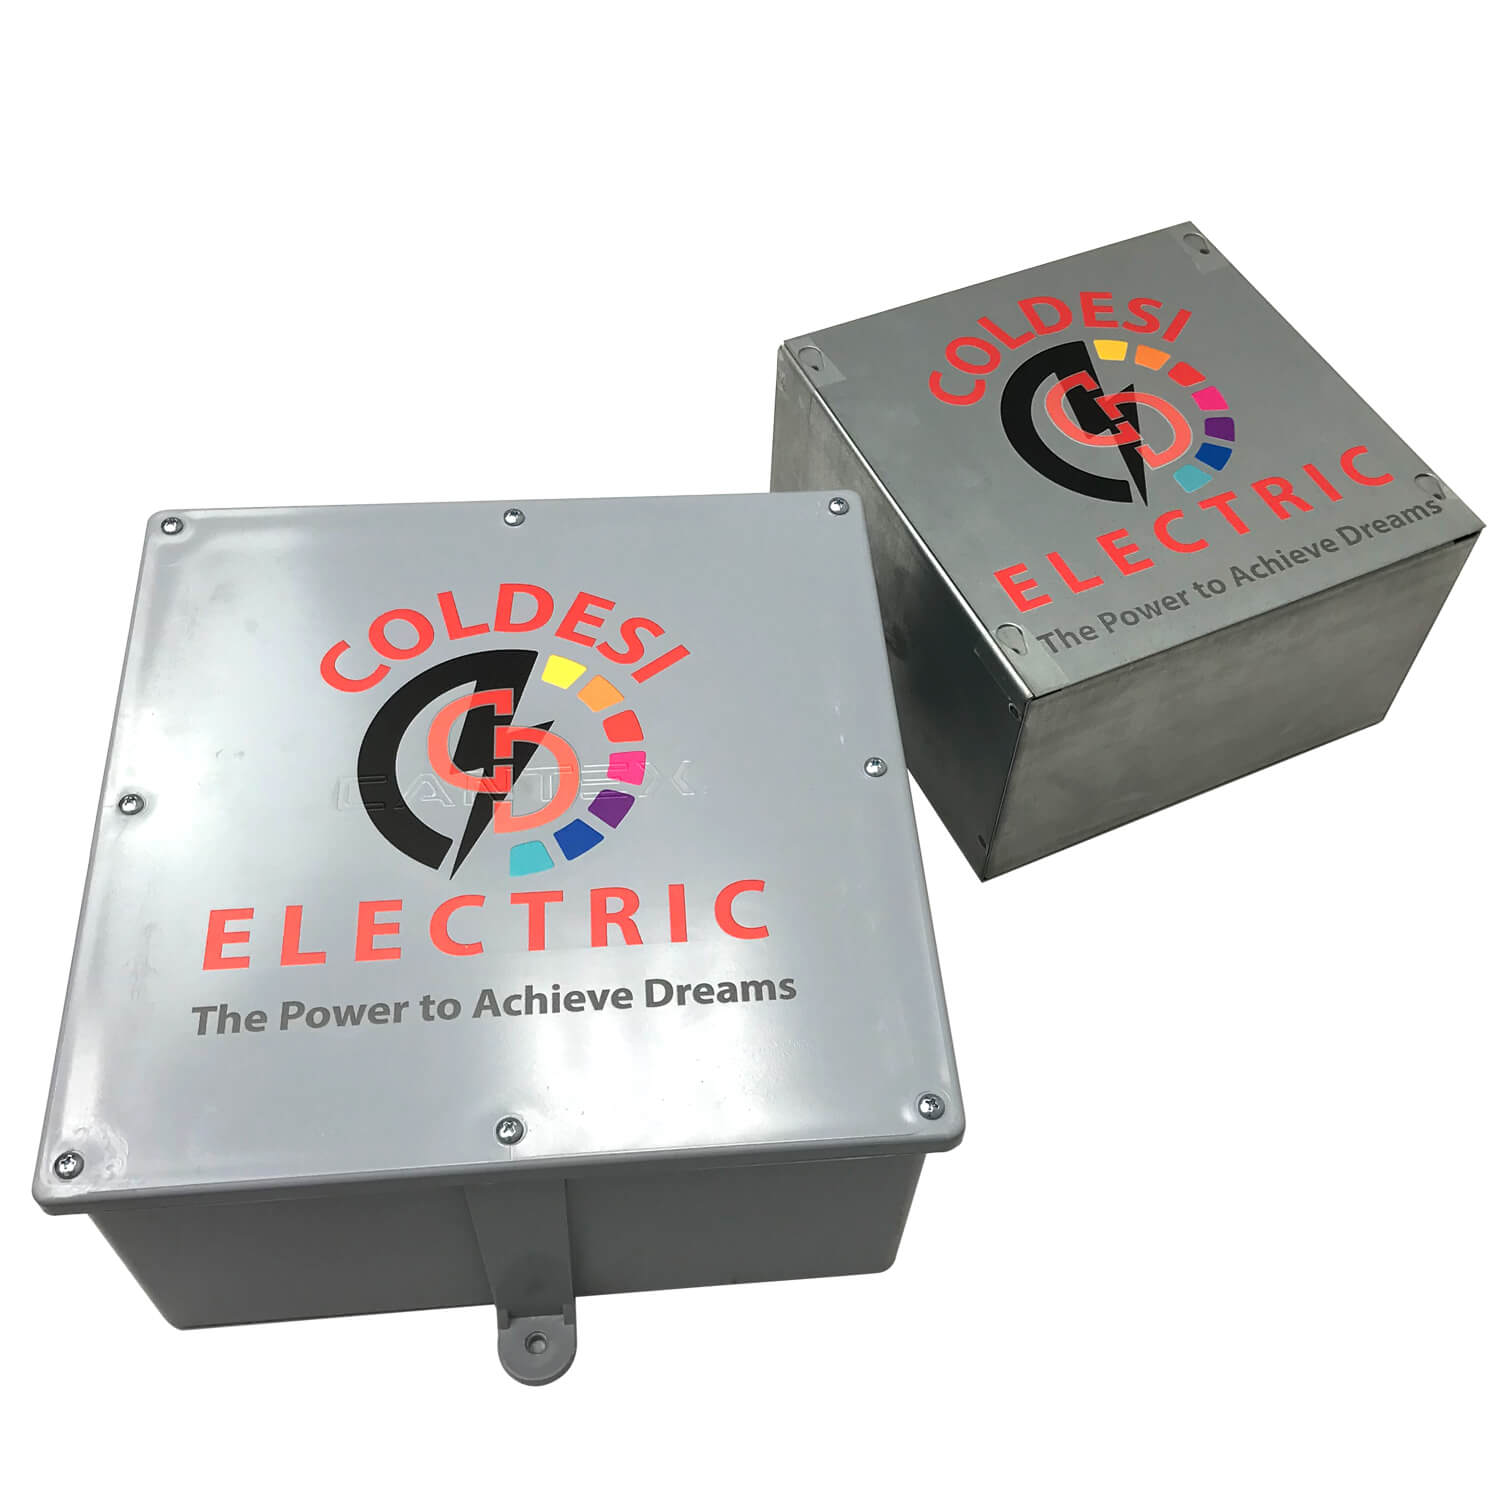
Companies are coming to us more and more for UV Printing on metal applications. And the Compress brand of UV Printers is turning out to be a real problem solver for marking on metal.
Here are some common applications for printing on metal, or “marking” as it’s sometimes called, include things like:
- Signage
- Packaging
- Machine Parts
- Barcoding
- Serializing
- Branding
- Warning Labels
And, that last bullet point is a new addition to the list!
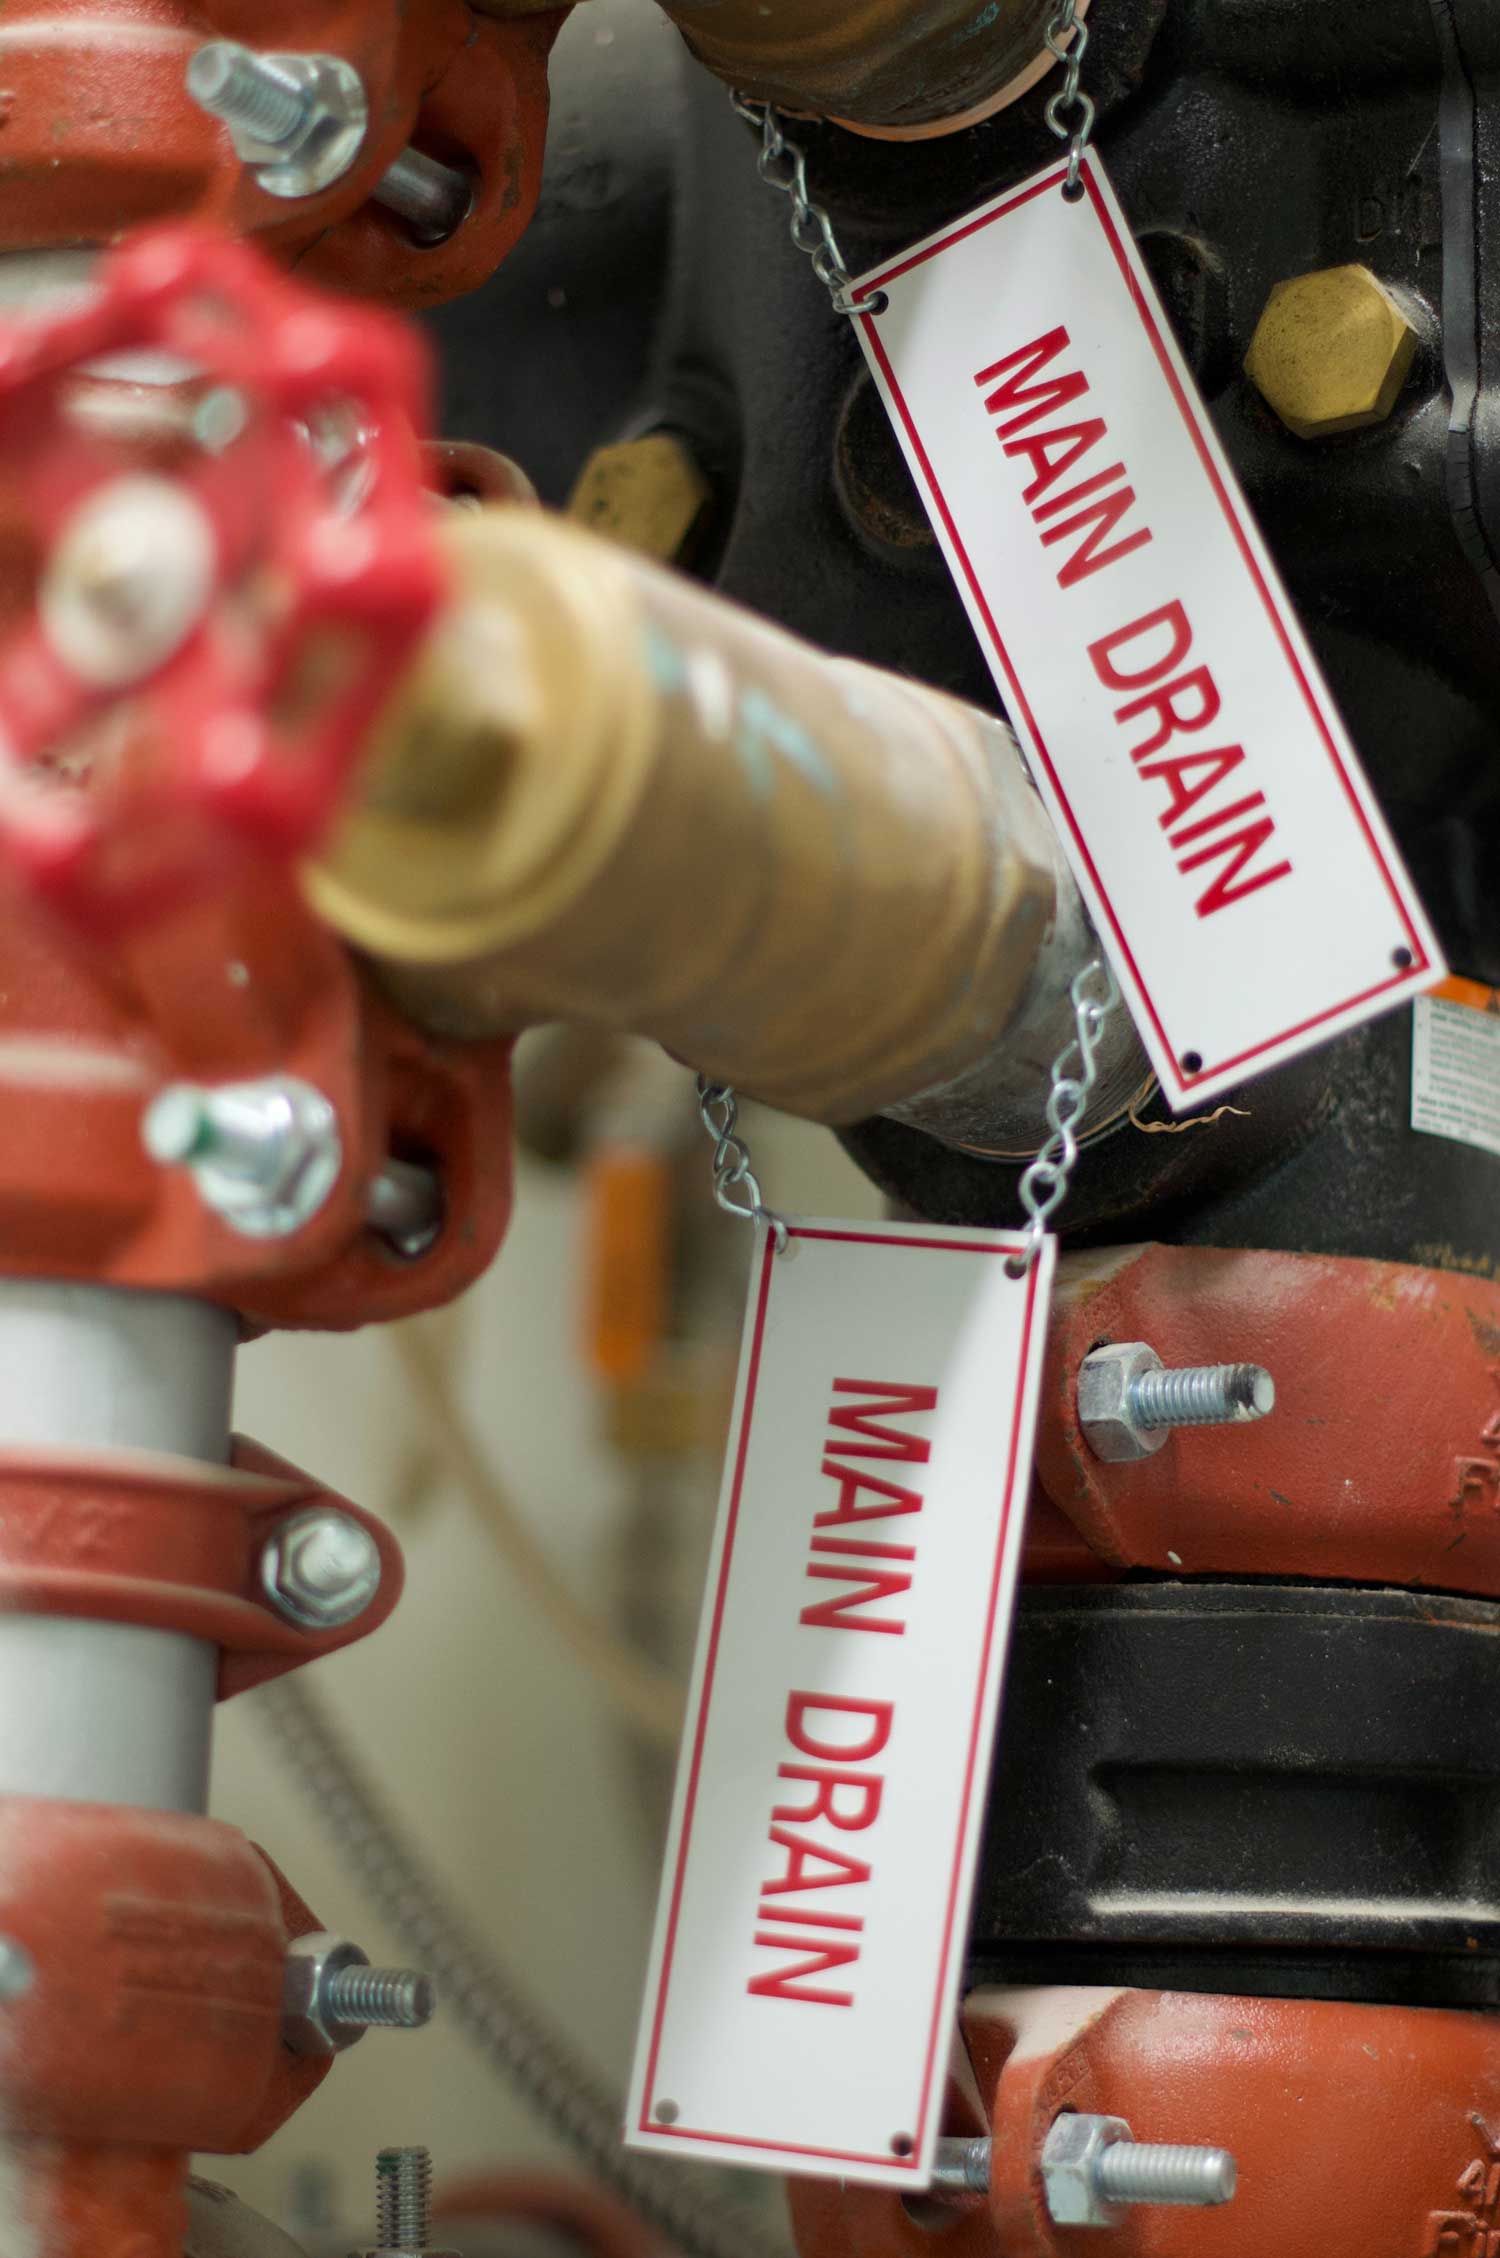
Lately, we’ve seen a surge in warning labels done with UV printing on a variety of substrates, including aluminum and steel, due to California’s Proposition 65 requirements. As well as warning signs now required in everything from factory floors to designated smoking areas.
Making print marks or marking on metal items with UV printing is a huge field.
Let’s take a look at the process of printing on metal for those kinds of applications, which is well within the comfort zone of our LED UV printers.
Printing on Metal with Compress UV
The Compress iUV600s and iUV1200s use the same software and print engine and only differ in bed size and physical size of the machines.
So the process description, software, and video examples shown apply to both.
Of course, specific metals react differently to UV Printing and curing, but the preparation method is fundamentally the same. (If you are printing on a unique material for the first time, make sure you test.)
STEP 1:
Clean The Surface
LED UV printing is an inkjet process which means that anything on the surface of the object will be printed on top of any particulates, dust, skin oils, which will hamper the curing process.
STEP 2:
Apply Promoter
There are several different promoters we use to ensure that the ink bonds properly to the surface of the metal.
If we have tested specific materials before we will recommend a promoter, if not some simple testing will reveal the best one for your application. This is a FAST wipe on the process.
STEP 3:
Verifying Targeting
If you’re printing on the same size and shape object over and over then you can have a jig made that lays on the same place on the bed every time.
But if this is a new piece, you’ll need to verify that the printer will print where you want it.
STEP 4:
First time? Run a test print.
There are hundreds of different ways to adjust the printer settings to get just the result you’re looking for.
You’ll want to strike a balance between speed, quality, saturation, etc. to match your application.
Following these steps, your metal is prepared for UV printing, has a home on the printer bed, and is ready to receive UV ink for your marking project.
Software for Your Metal Marking Job
Setting up your graphics or variable data inside the Compress software is the same for Printing on Metal as any other job.
The printers come with two software applications:
- Compress RIP
Compress RIP is a raster image processor with tools to adjust every aspect of the way your printer prints.
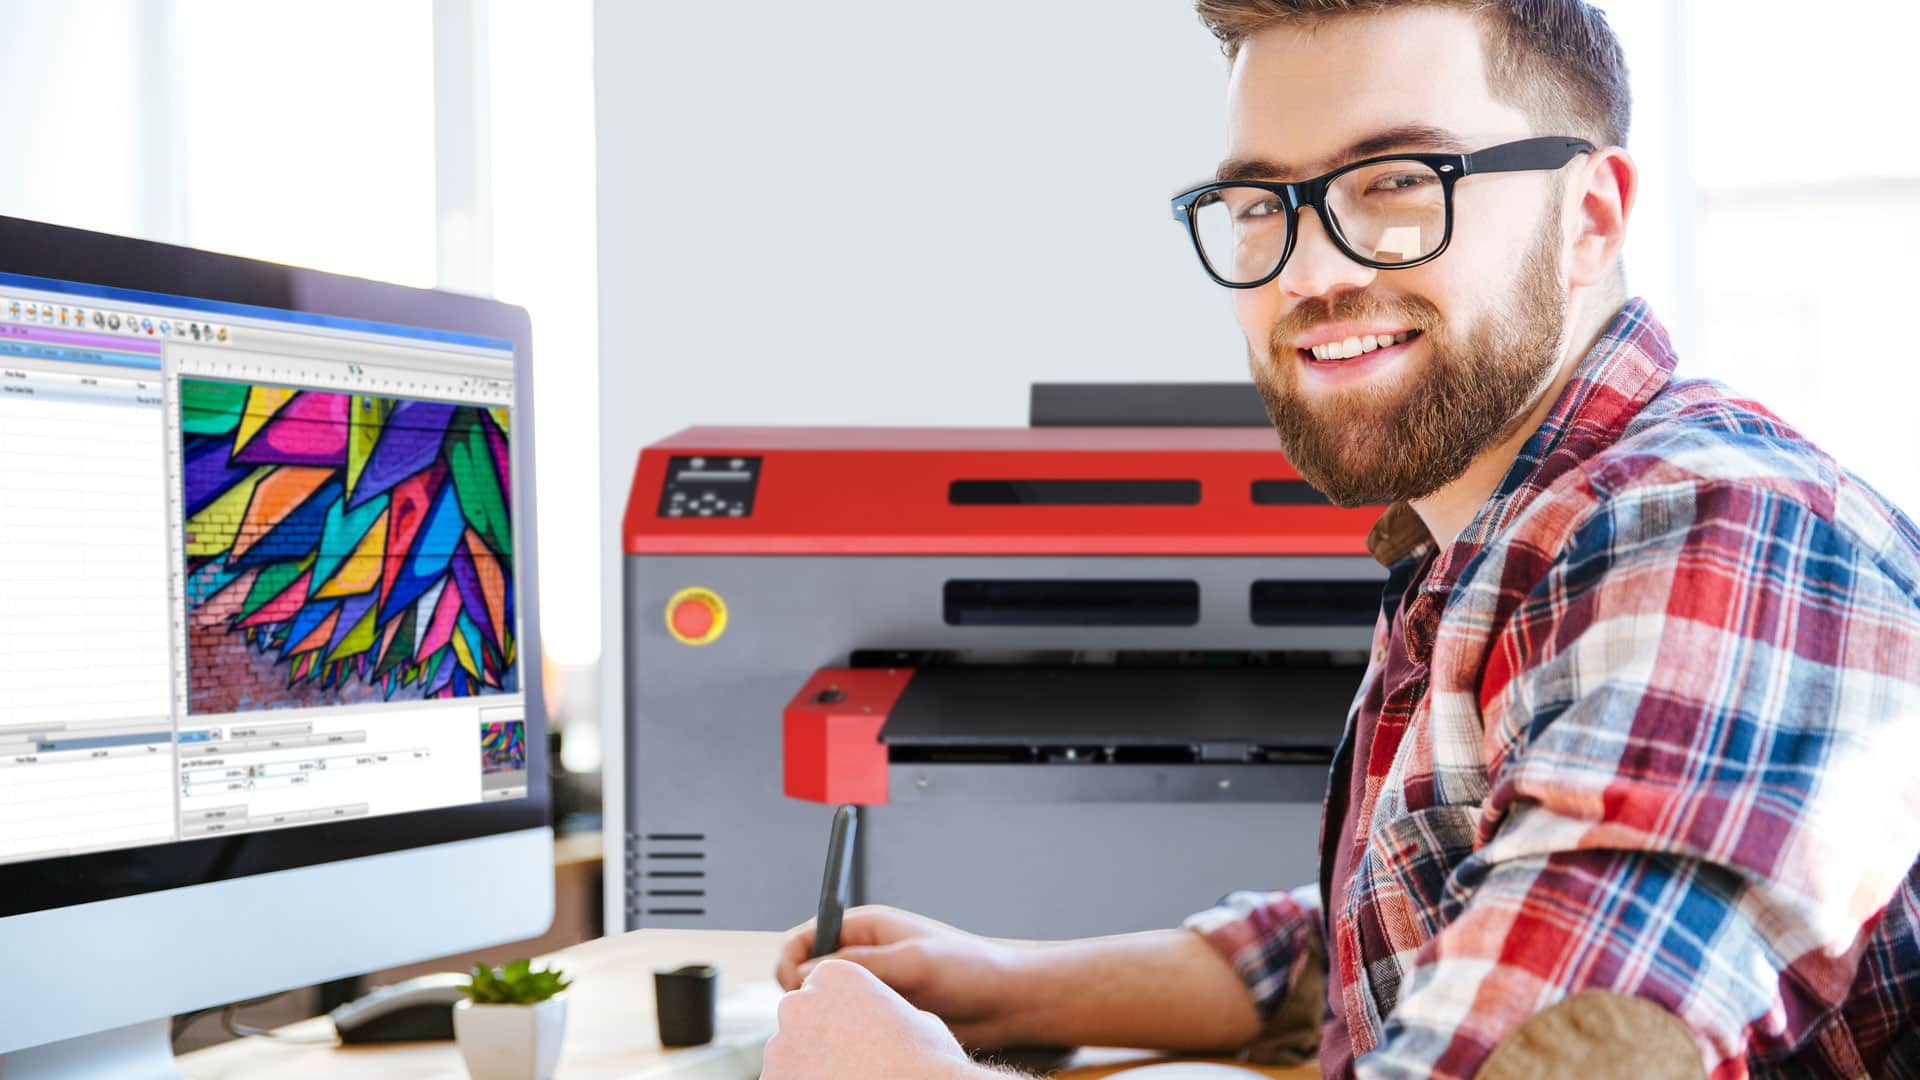
- Compress Designer
Compress Designer is where you can layout templates, especially useful for variable data. Simply upload the spreadsheet of the barcode, serial numbers, employee names, etc.
Problem Solver #1
Printing on Assembled Parts
The print size for the iUV1200s is 44.813” x 29.5” which is large enough to do most jobs and almost 24” x 18” on the smaller iUV600s.
One of the real problem-solving features they share is that they will BOTH print items up to 11.8” DEEP.
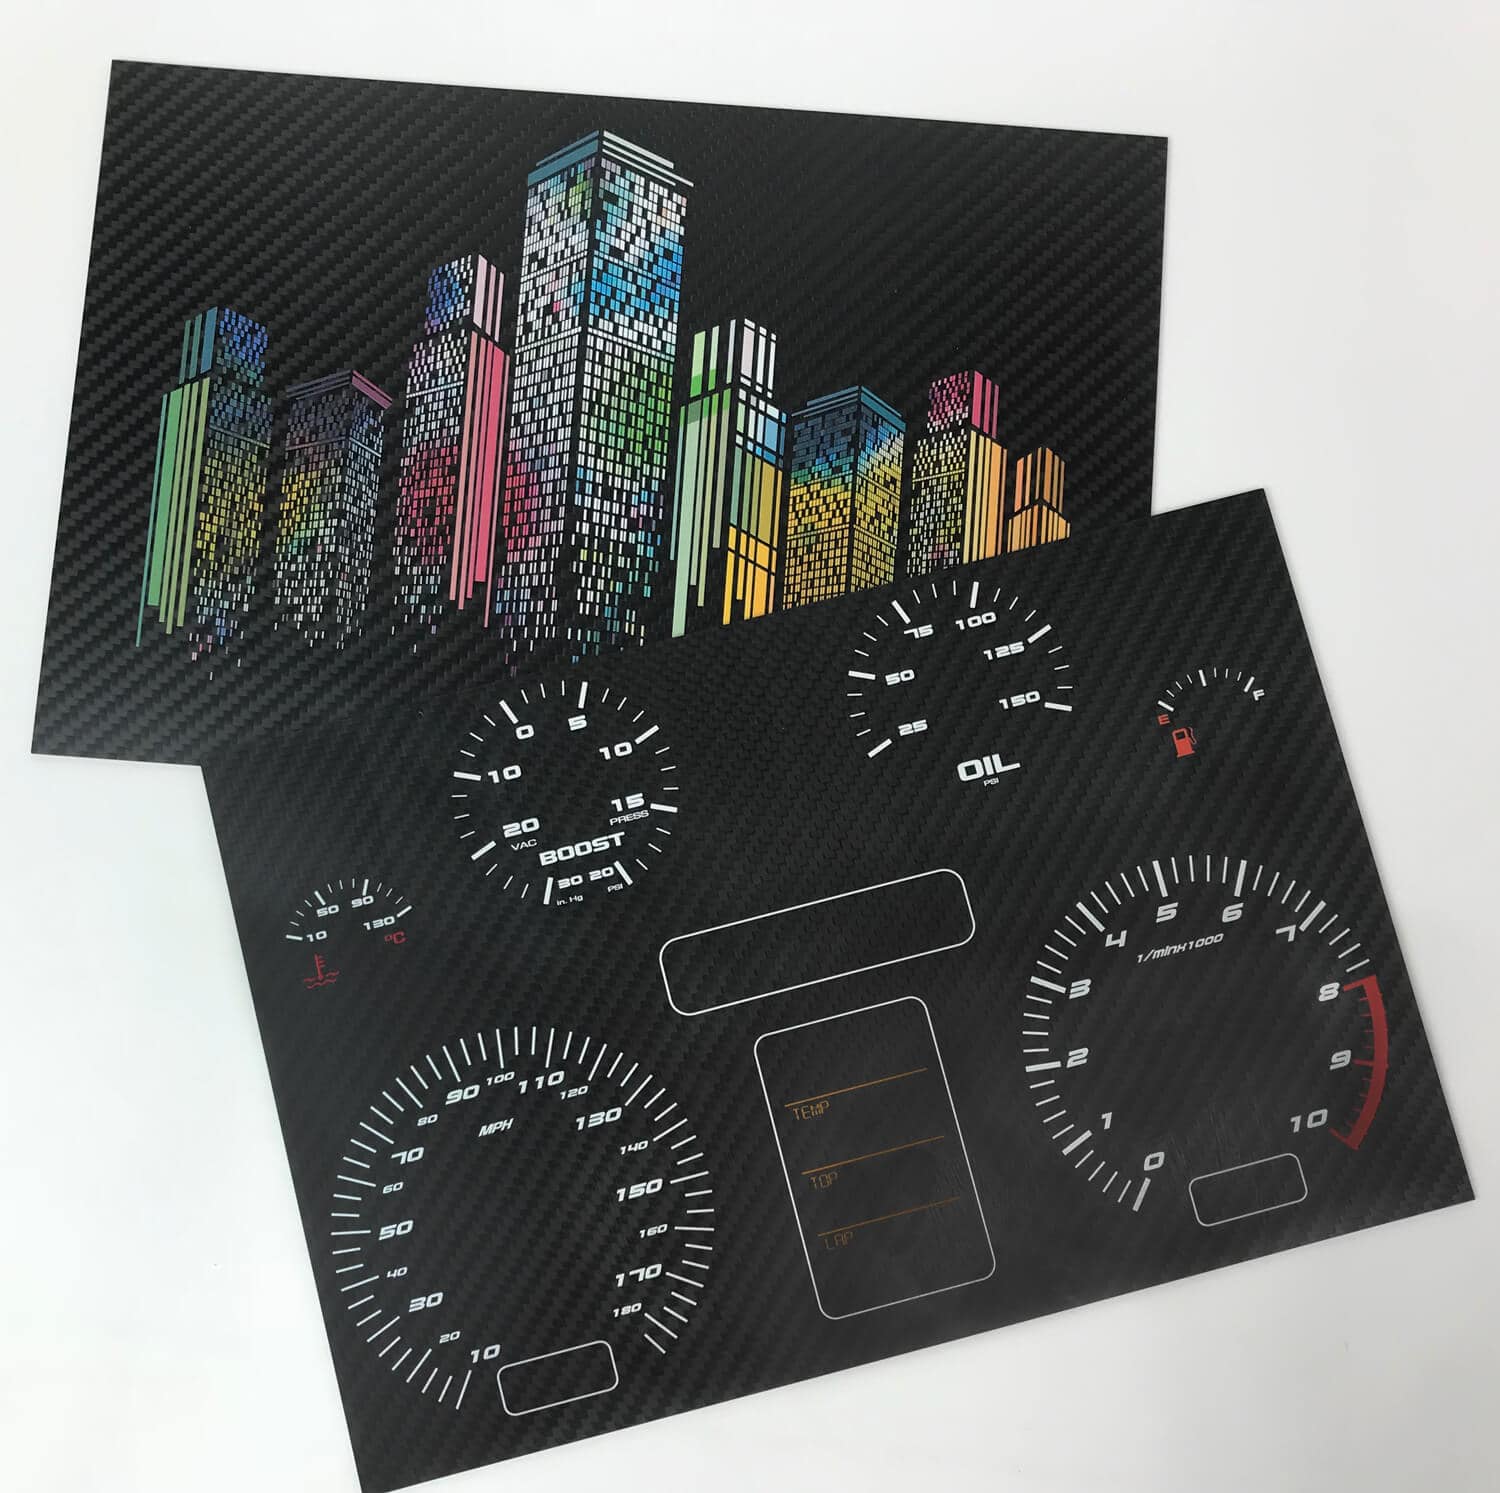
Printing this deep opens the possibility of printing on metal parts or packaging AFTER THEY ARE ASSEMBLED. Not just branding OEM products but also printing barcodes and serial numbers.
Think about the ability to print on a finished product:
- Auto or Motorcycle parts
- Control Panel Assemblies
- Metal Cabinets
- Storage Containers
- Retail Packaging
Comparing the Compress to the 1-2” depth of most UV printers makes it:
Problem Solver #2
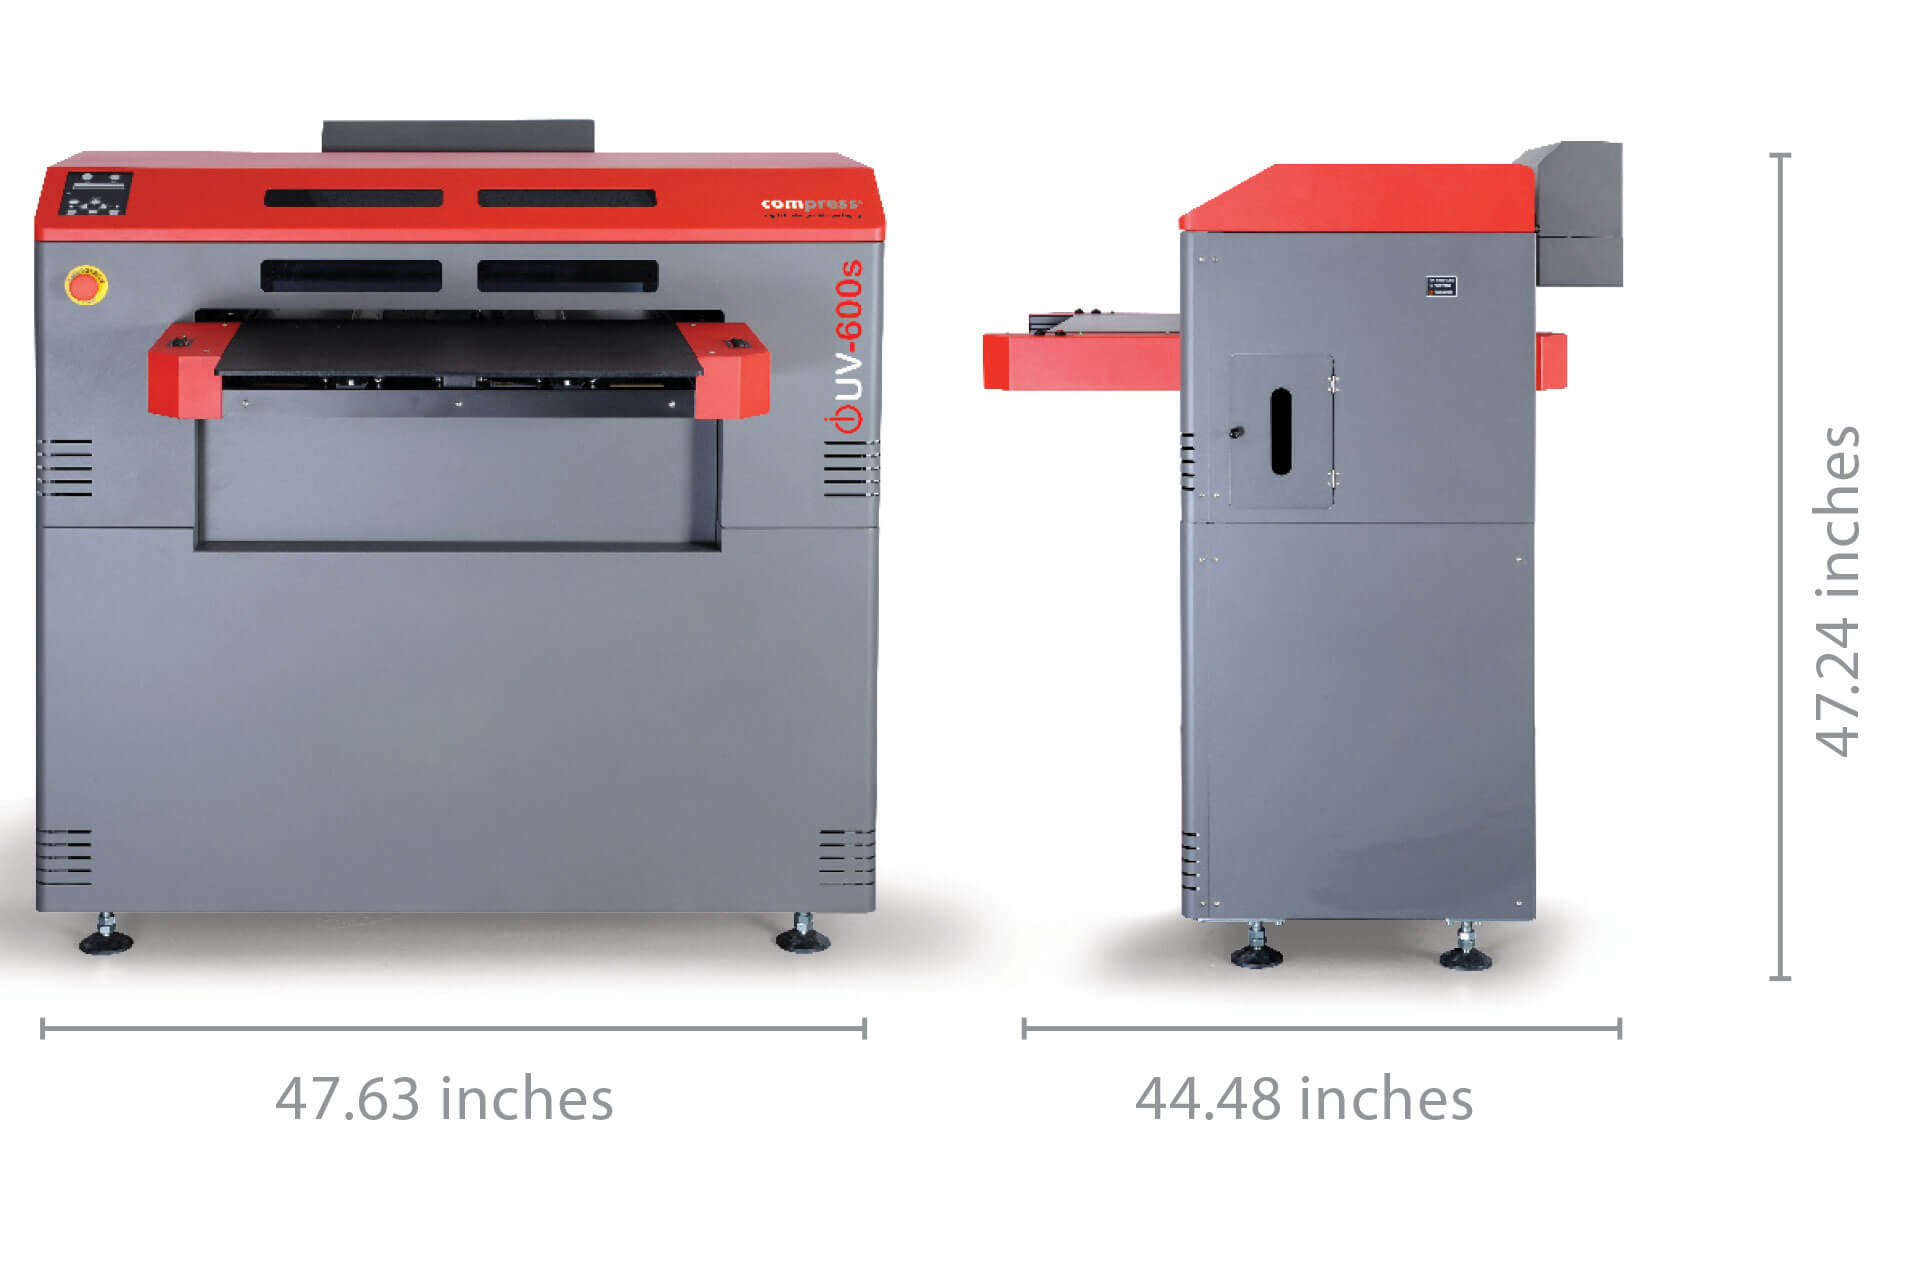
Smaller Footprint
UV Printing has been used for marking on metal for some time. Many manufacturers approach UV as a kind of digital pad printing and have adopted large format printers for some applications already.
But the advantage to Compress UV Printer’s “small format” approach has been its footprint.
The Compress line is an especially fast and productive printer, so depending on the size and configuration of the item being printed it can often outperform larger models.
And because Compress has a smaller footprint, you can often put 2 or 3 of them in the same space as a single large-format UV printer.
Limited factory floor space but can’t compromise productivity?
Problem Solver #3
Not Sure What Is Coming Next?
The biggest problems that the Compress UV printers have solved include printing on metal, of course. But they also include printing on a variety of other substrates too:
- Golf Balls
- Wooden signs
- Poster boards
- Custom cardboard boxes
- Custom plastic packaging
- Sports equipment
Businesses large and small are contacting us daily with a new and different application – a problem to solve – and very often the Compress UV printers can do it.
If your business does prototyping, services demanding customers frequently get something new to build, manufacture, mark or print think of Compress UV Printers – and let’s make you a problem-solver too!
