Monday to Thursday : 9am - 6pm Friday : 8am - 5pm
We believe in privacy and communicating in the best way for your business. By completing the above form, you agree to be contacted by ColDesi Inc through phone calls, emails, and text messages. You can opt-out of emails with unsubscribe links or opt-out of texts by replying STOP at any time.
4537 South Dale Mabry Highway Tampa, Florida 33611
12198 44th St N
Clearwater, FL 33762
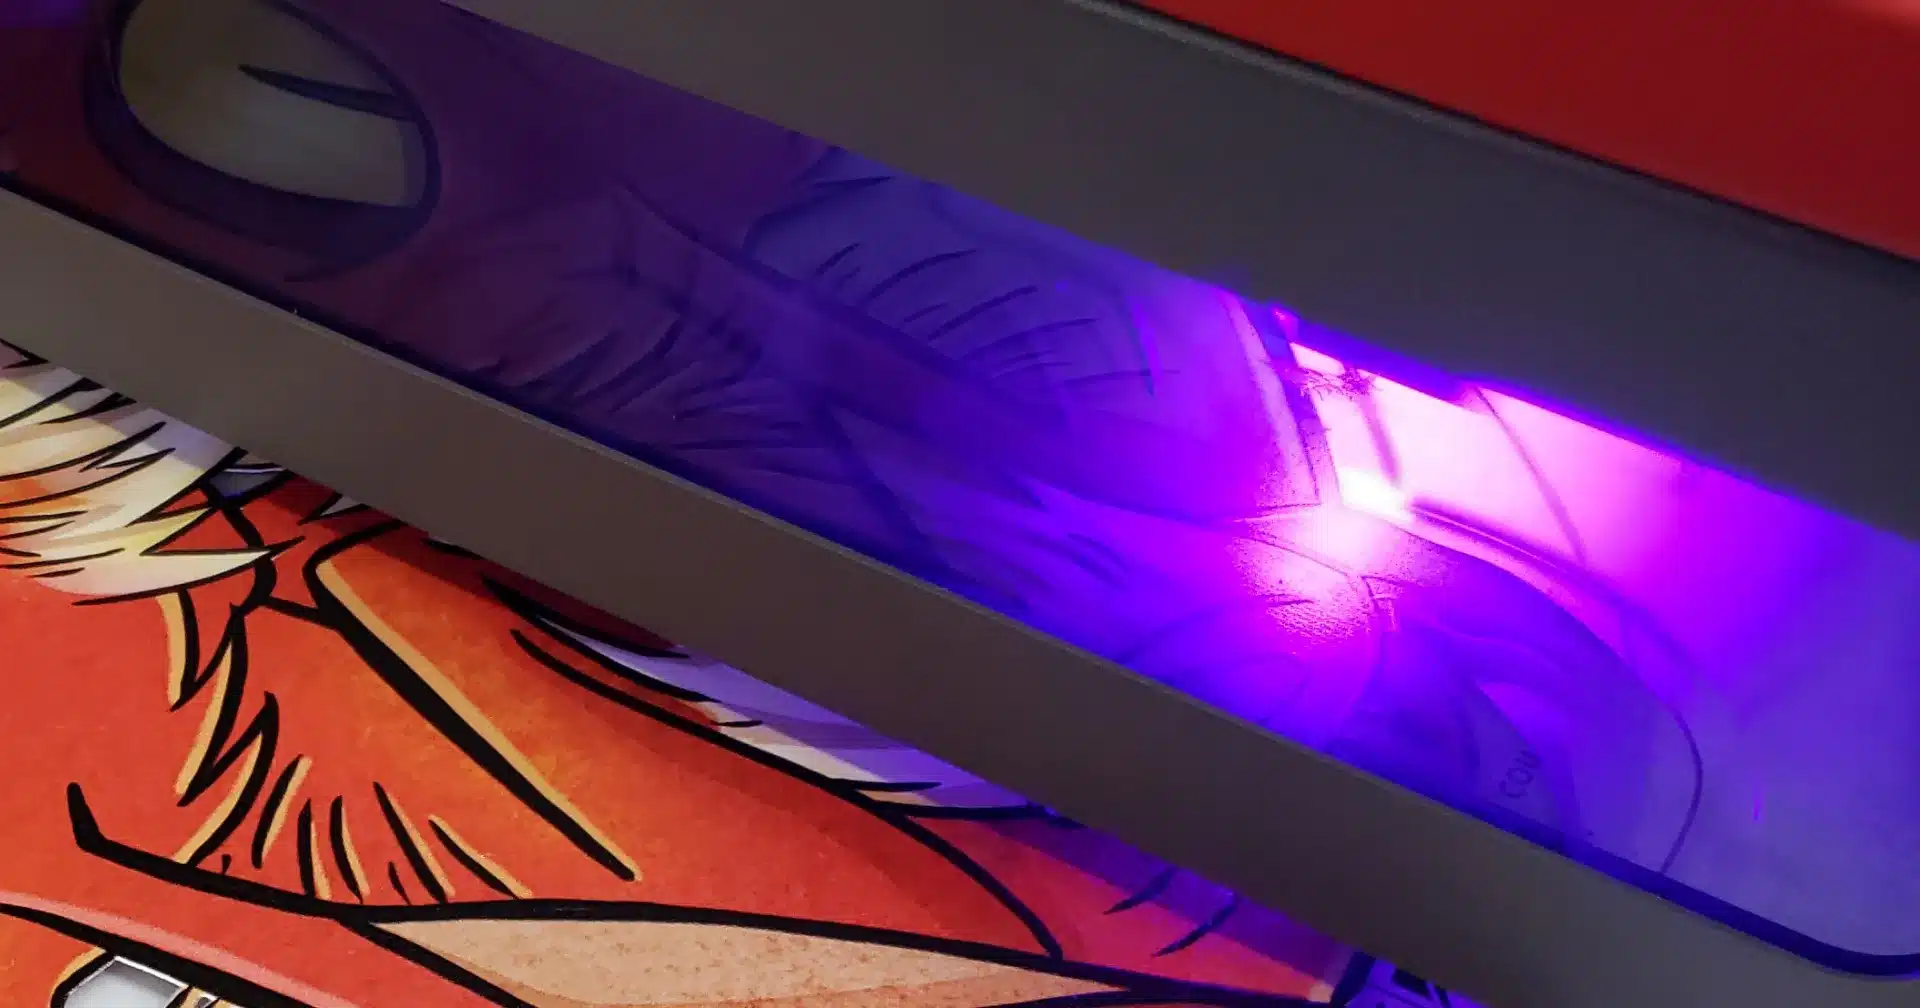
We receive a lot of different items to print for samples. While many items are fairly straightforward – flat, level, easy to target. Some are more challenging.
Recently we were sent some lapel pins to print on. They were small – .75” diameter and obviously would not lay flat (pin on the back). We had to develop a method to hold them to allow for targeting as well as keep them level and in place for printing. Below are the steps we took along with mention of the missteps along the way),
We began by mounting a piece of removable vinyl sticky side up on our bed mat (we actually tried to hold our “jig” down without the vinyl and found the jig too prone to movement)
Our next step was to create a piece to be used as our jig to hold the pin for sampling.
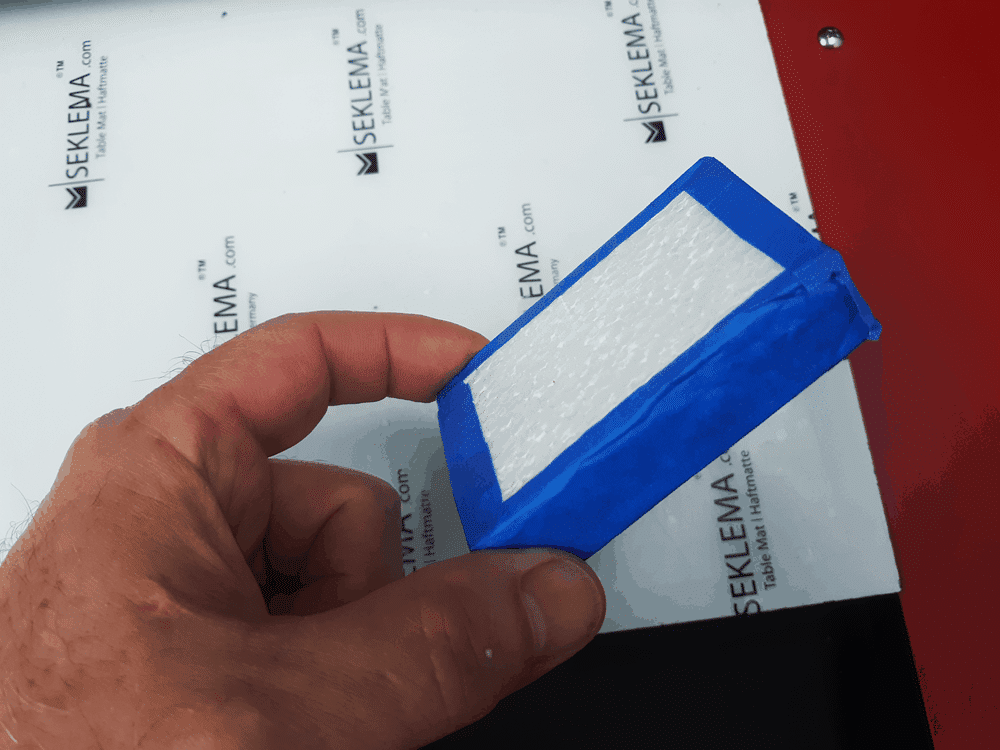
We had some ¾” Styrofoam (so we could press the pin into position) that we cut down to roughly 2 ½” x 3” to become our jig.
Since Styrofoam tends to be a bit messy when cut we chose to wrap the edges in blue painter’s tape to eliminate making a mess inside of our printer.
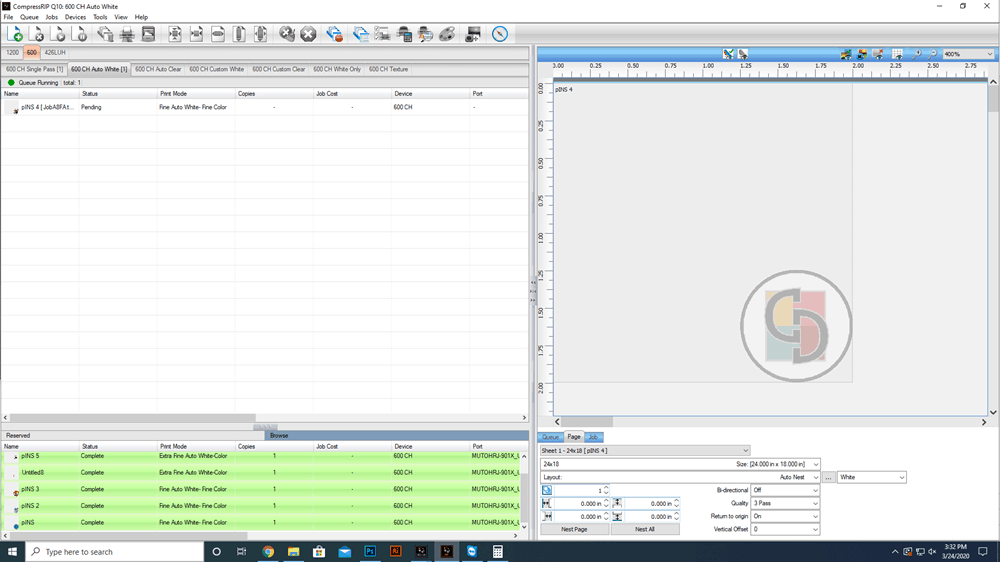
We setup in our software to print a target onto our jig at approximately 2 ½” down and 3” in from the bed edge, so we appropriately placed our jig to be certain that our target would land on the jig.
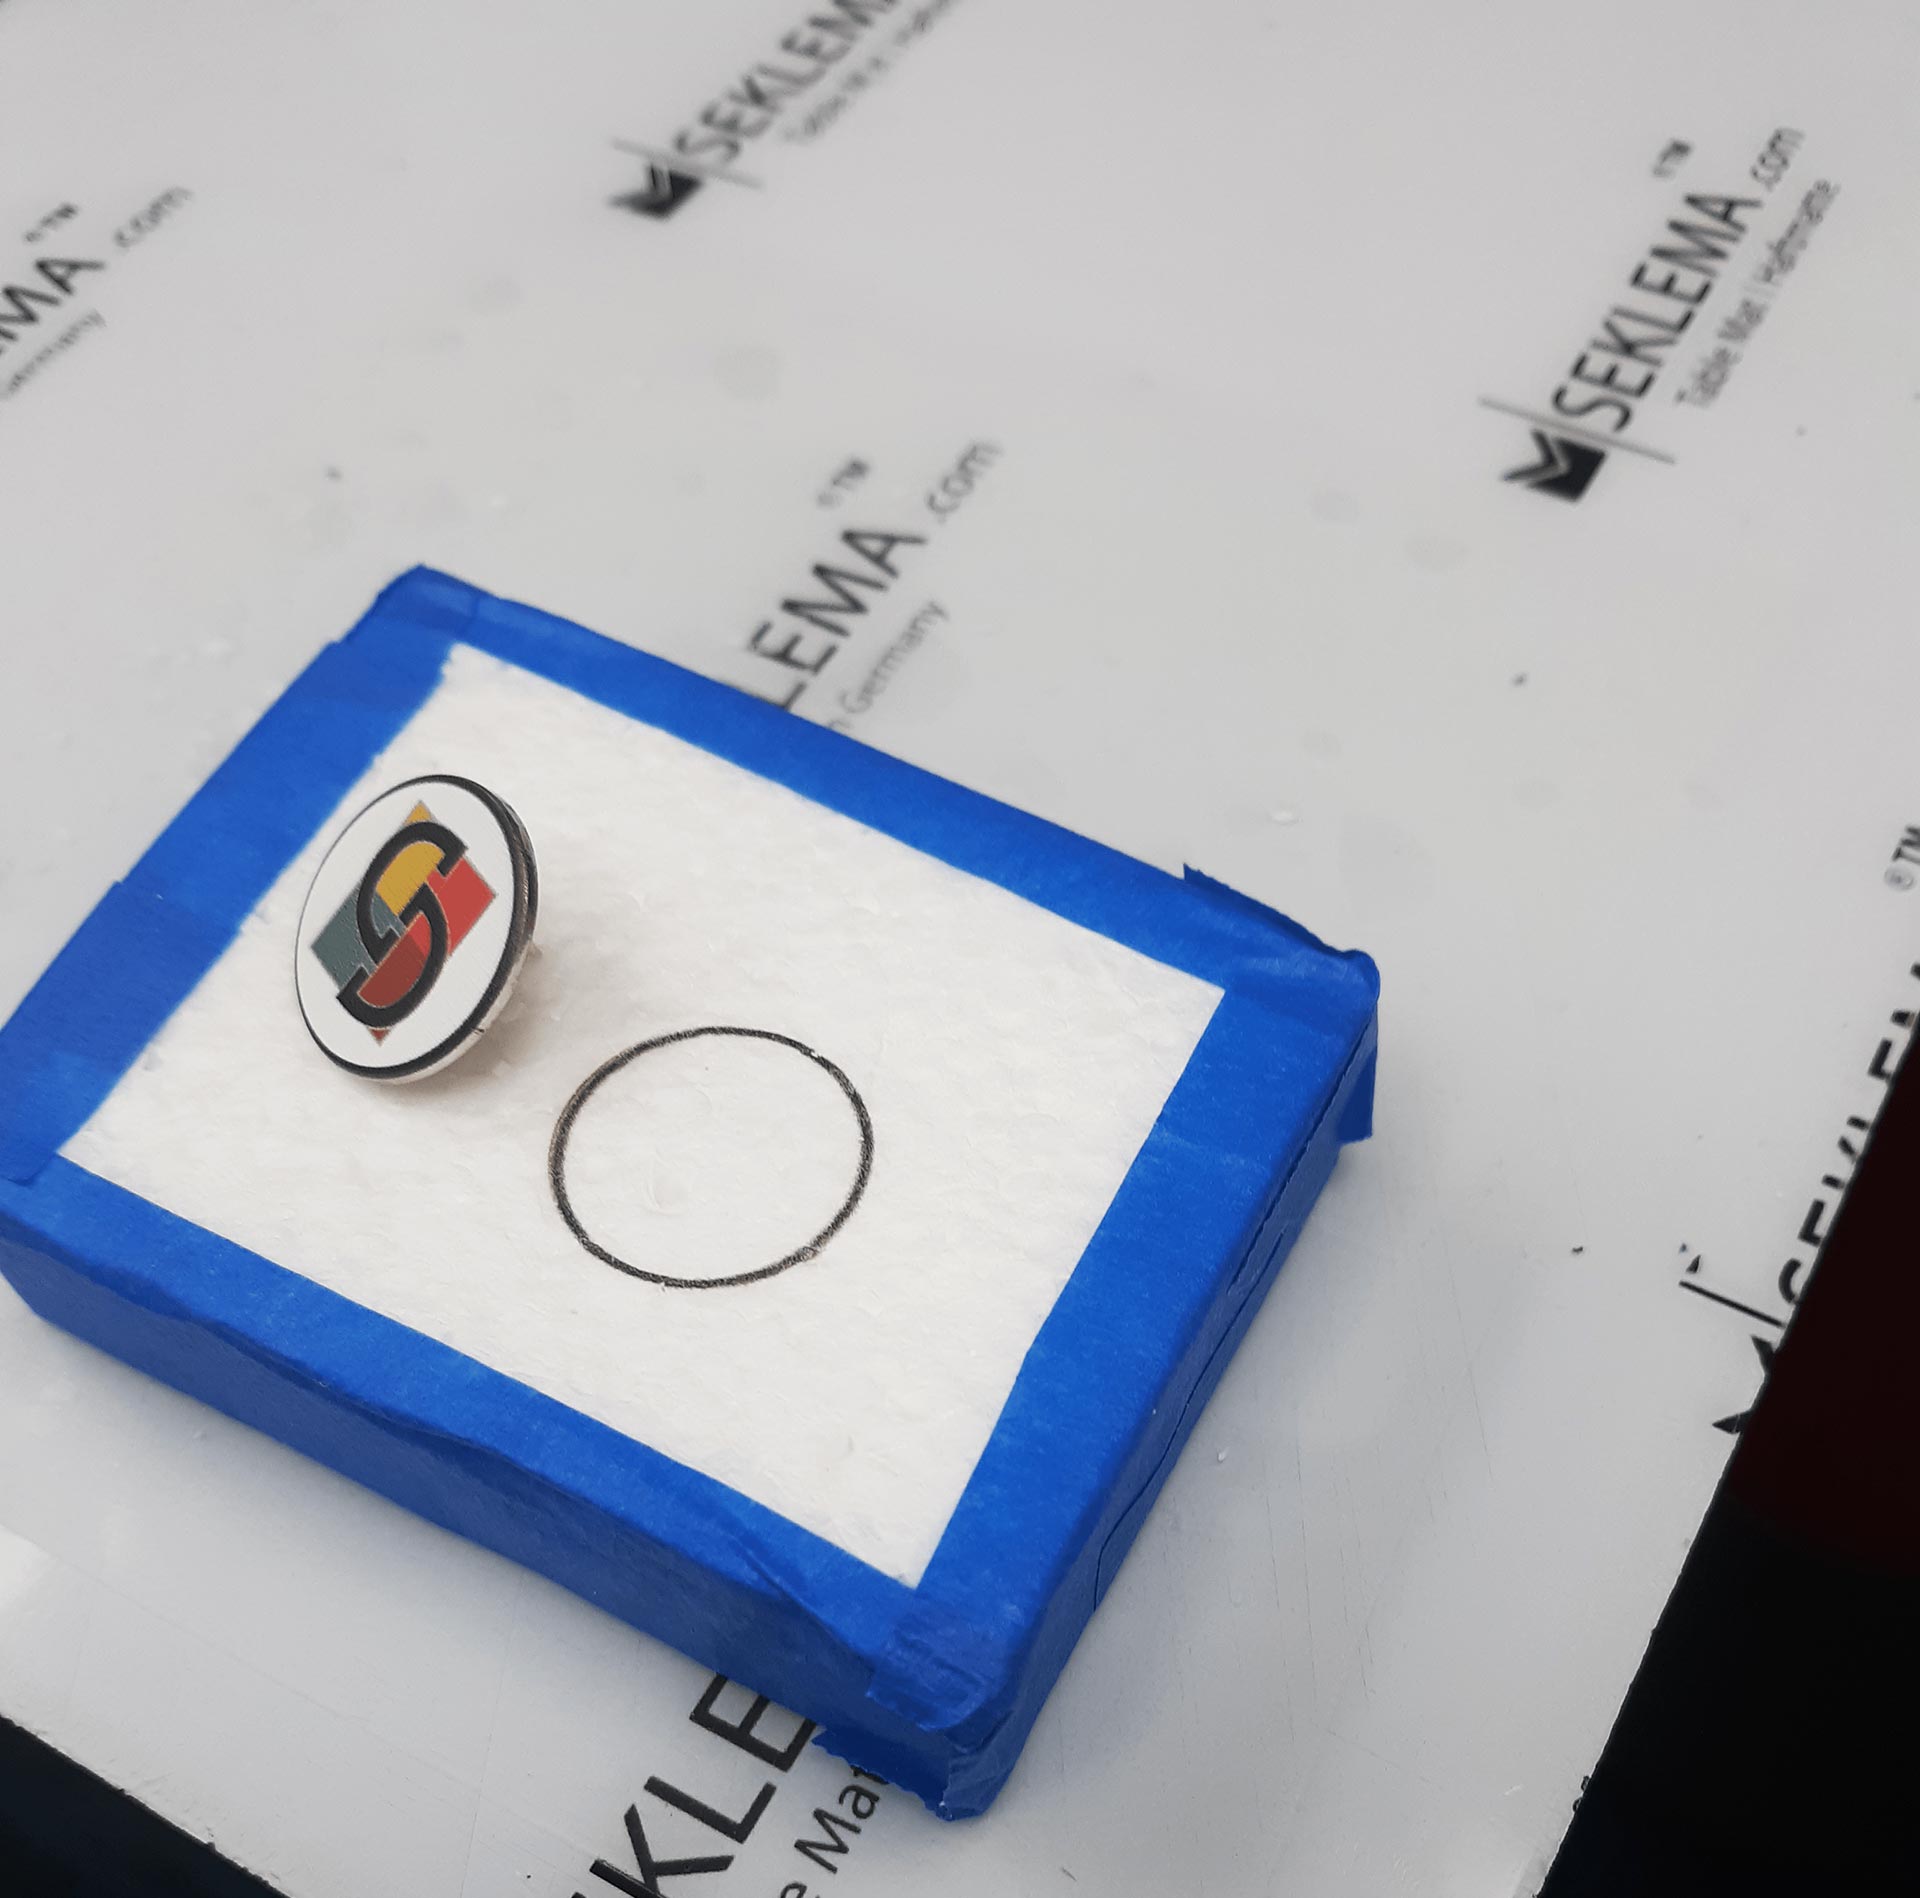
We drew a ¾” diameter circle in our software and sent it relative to the page over to our RIP and printed it out on to the Styrofoam jig material.
After this, we positioned the artwork for the face of the lapel pin in exactly the same position as the targeting circle we had created earlier and sent that over to the RIP, and loaded the pin onto the Styrofoam jig for printing.
We have a jig that holds out the pin in position, targeted with a circle that matches the size of the pin, and the pin placed to correspond to the outline we printed. We can now print the sample with confidence. As the pictures below show – we got a really good sample on our first try because we spent the time to make sure that we could securely hold the object and accurately target our printing position.
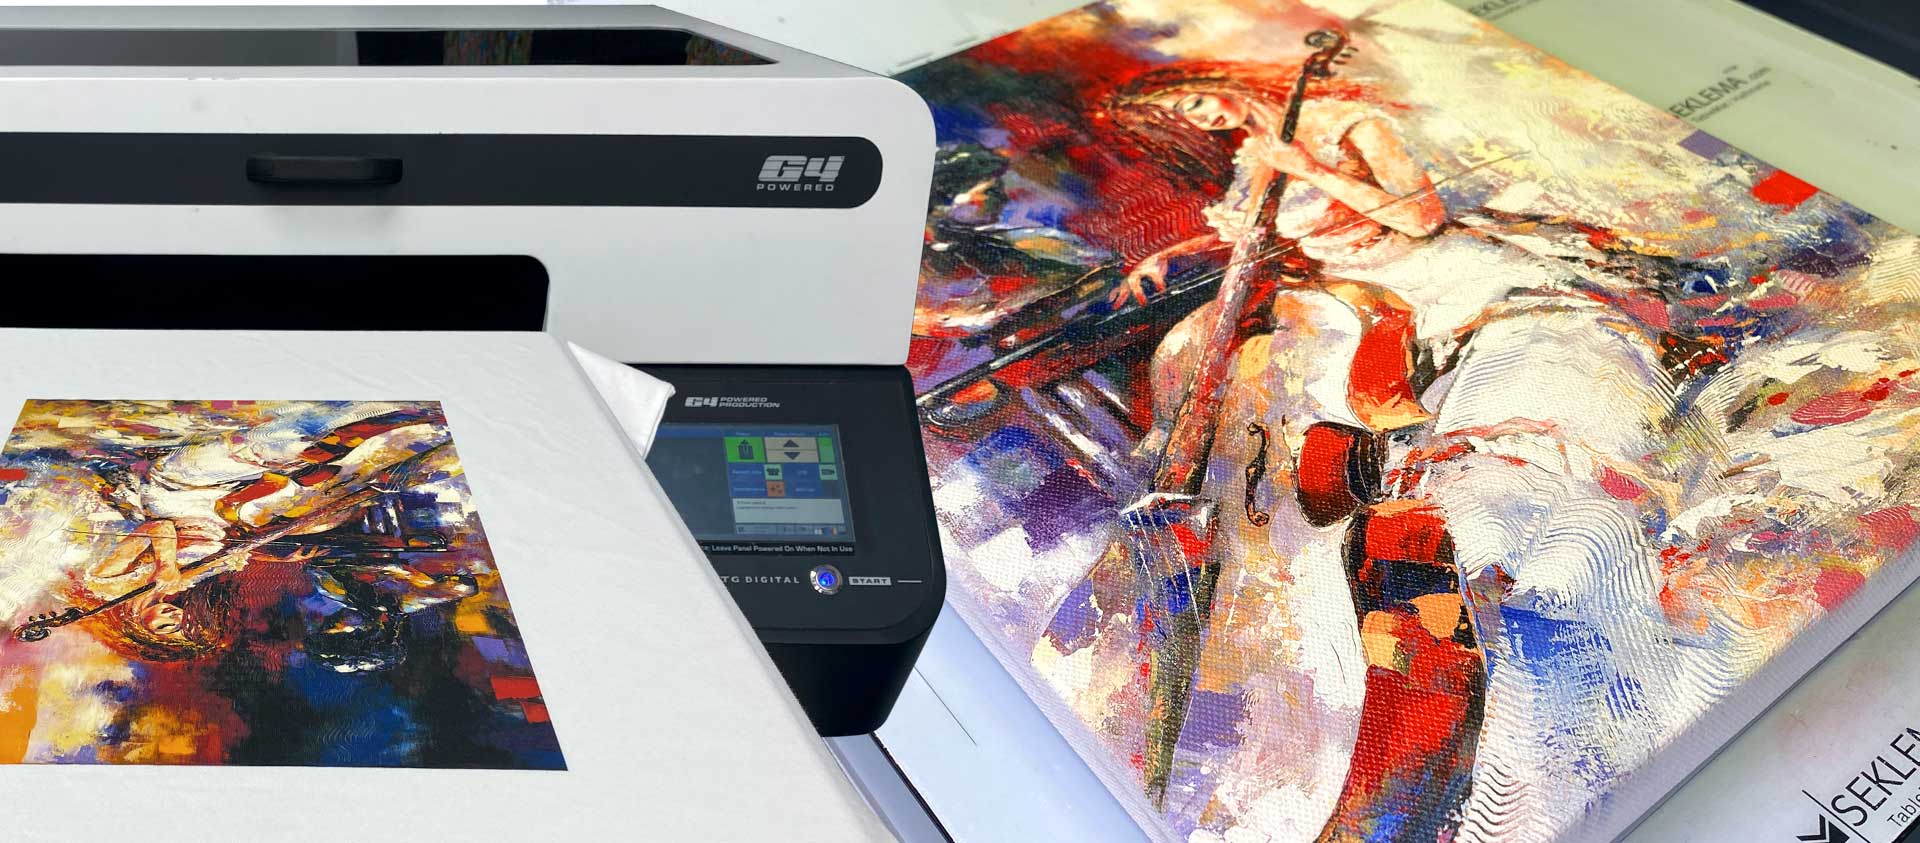
This is a just an example of how you can take items you may have around your office and create jigs to handle short run items that are not worth investing in making a more permanent jig for or worse yet, paying someone to make one for you. By taking advantage of the easy interface between the Compress Designer and Compress RIP we can confidently position our items on the printer and know that we are going to get good registration and great image quality and color.
What is UV Direct-to-Object Printing? UV direct-to-object printing is a digital technique that uses UV light to cure ink on an object. This process produces
UV Printing is a digital printing process for both finished and unfinished hard surface goods. For this printing process, the UV Printer applies inks directly
DTG Printers, or “direct to garment” printers, are the quintessential t-shirt printers. UV Printing is used to print onto almost everything except t-shirts. The idea
© 2022 ColDesi Incorporated. All rights reserved